snail roll: seed starting, sushi style
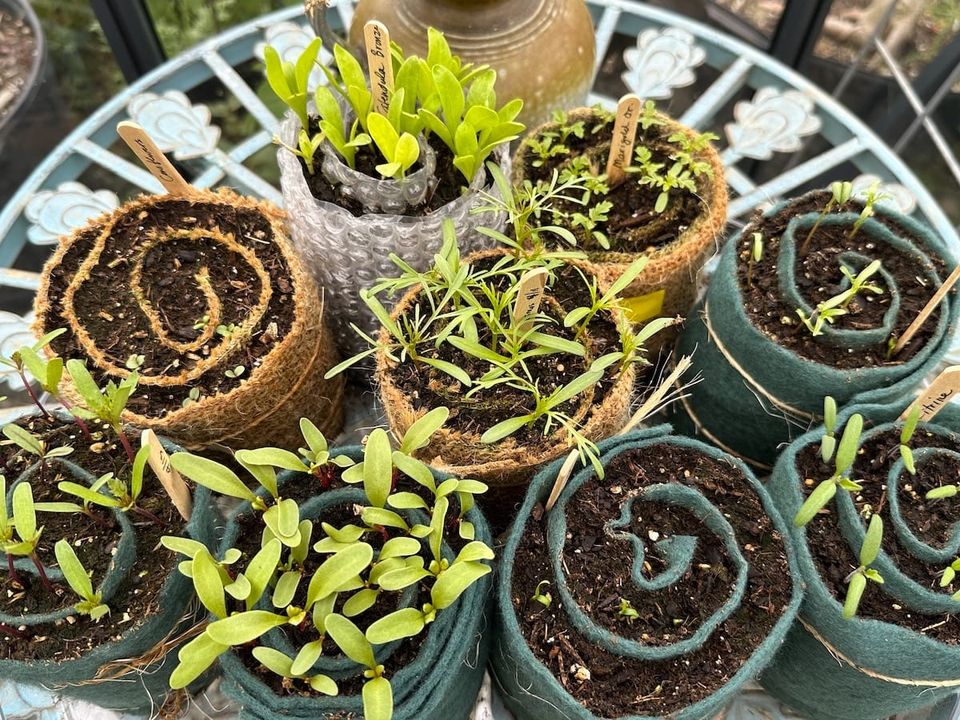
Of all the seed-starting methods I tried this year, the most curious and unexpectedly useful was the snail roll. It looks pretty much like what it sounds like: a strip of damp seed-starting mix rolled into a spiral, rather like a piece of garden sushi.
It is one of those ideas that seems slightly improbable at first, but the logic is easy enough to appreciate. Instead of filling a tray with pots or cell packs, you make one compact roll, stand it upright in a shallow container, and let the seeds germinate along the top edge. It uses less seed-starting mix, takes up less room, and somehow manages to look both tidy and fun at the same time.
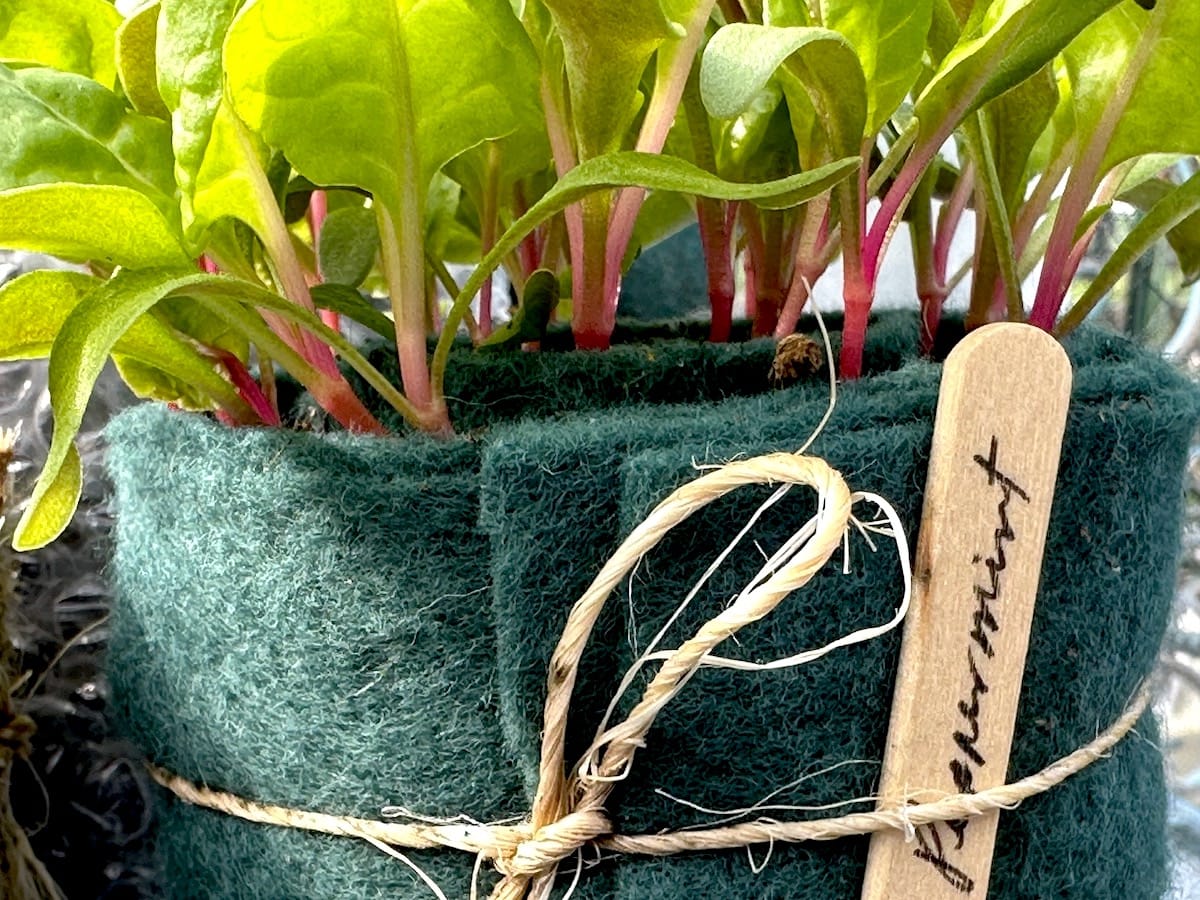
How to make a snail roll:
- Start with a strip of flexible material wide enough to hold a shallow layer of seed-starting mix. Some gardeners use bubble wrap, foam, felt, burlap, or similar materials that can be rolled and stood upright. I experimented with three different materials, each cut into 5-by-16-inch strips.
- Spread on a layer of damp seed-starting mix, moist, but not sodden, about a third of an inch thick then roll the strip up gently but firmly, keeping everything together as much as possible. Secure it with two pieces of twine, one near the top and one near the bottom of the roll. Set the finished roll upright in a tray or shallow container. Then sow the seeds along the top of the roll, pressing them in gently so the soil sits slightly below the edge of the material rather than flush with it.
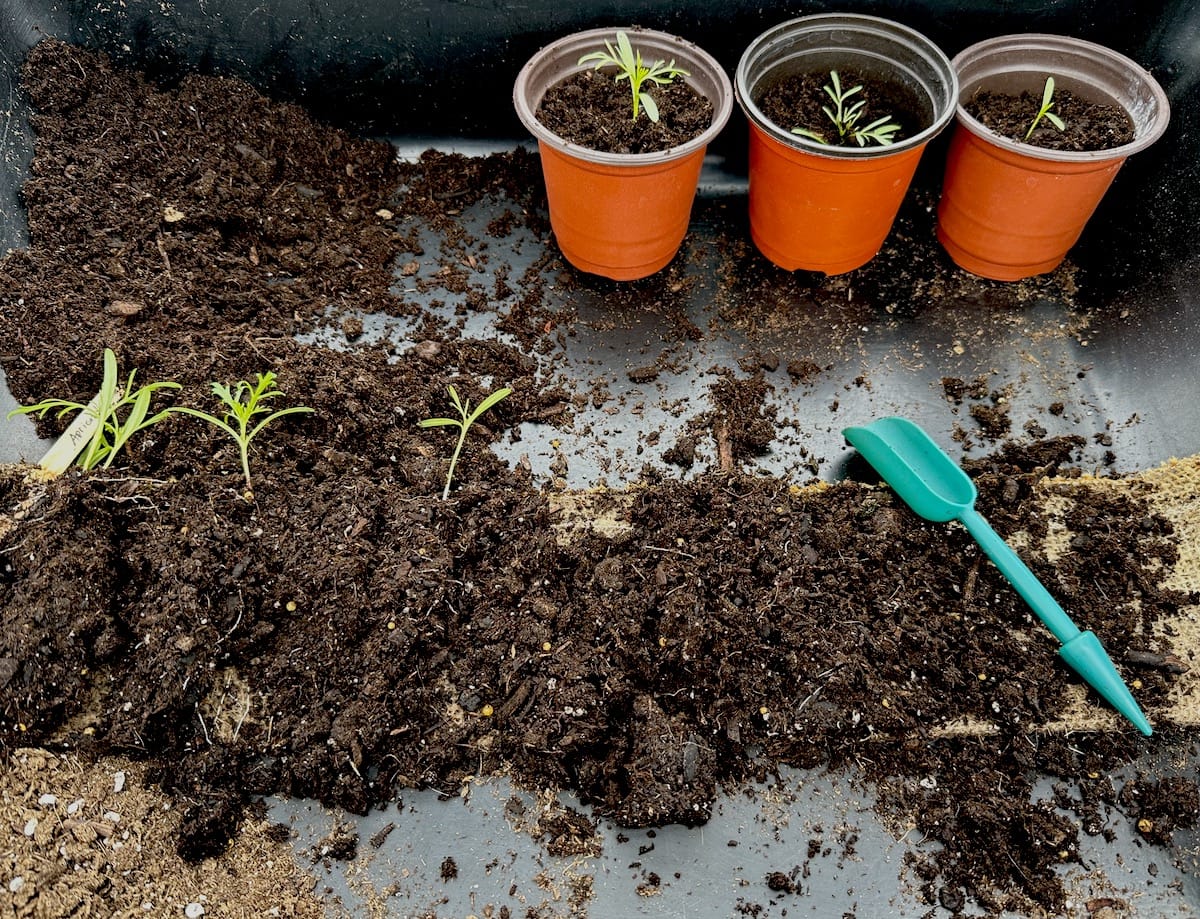
- Water and keep the roll in a warm spot until germination begins. Keep an eye on both moisture and light. Because there is not much mix in the roll, it can dry out faster than an ordinary pot or tray. And once the seedlings begin making roots and putting on their first true leaves, they will need more room than the spiral can give them. At that point, you can unroll the snail and transplant the seedlings into their proper pots.
A few lessons learned from my first round:
— I used strips of bubble wrap, felt, and burlap. I will not use burlap again. It made untangling the roots more difficult than it needed to be.
— This method seems better suited to smaller seeds. I tried using a snail roll to sprout artichokes, and whether the seeds were too old or simply poor quality, only one plant emerged. They were also the largest seeds I used in this experiment.
— Water the roll before unrolling and transplanting. The extra moisture makes it easier to separate the roots, if they need a little coaxing.
— If you cannot transplant right away, begin watering from below rather than from the top of the snail roll, especially once the seedlings have developed their true leaves.
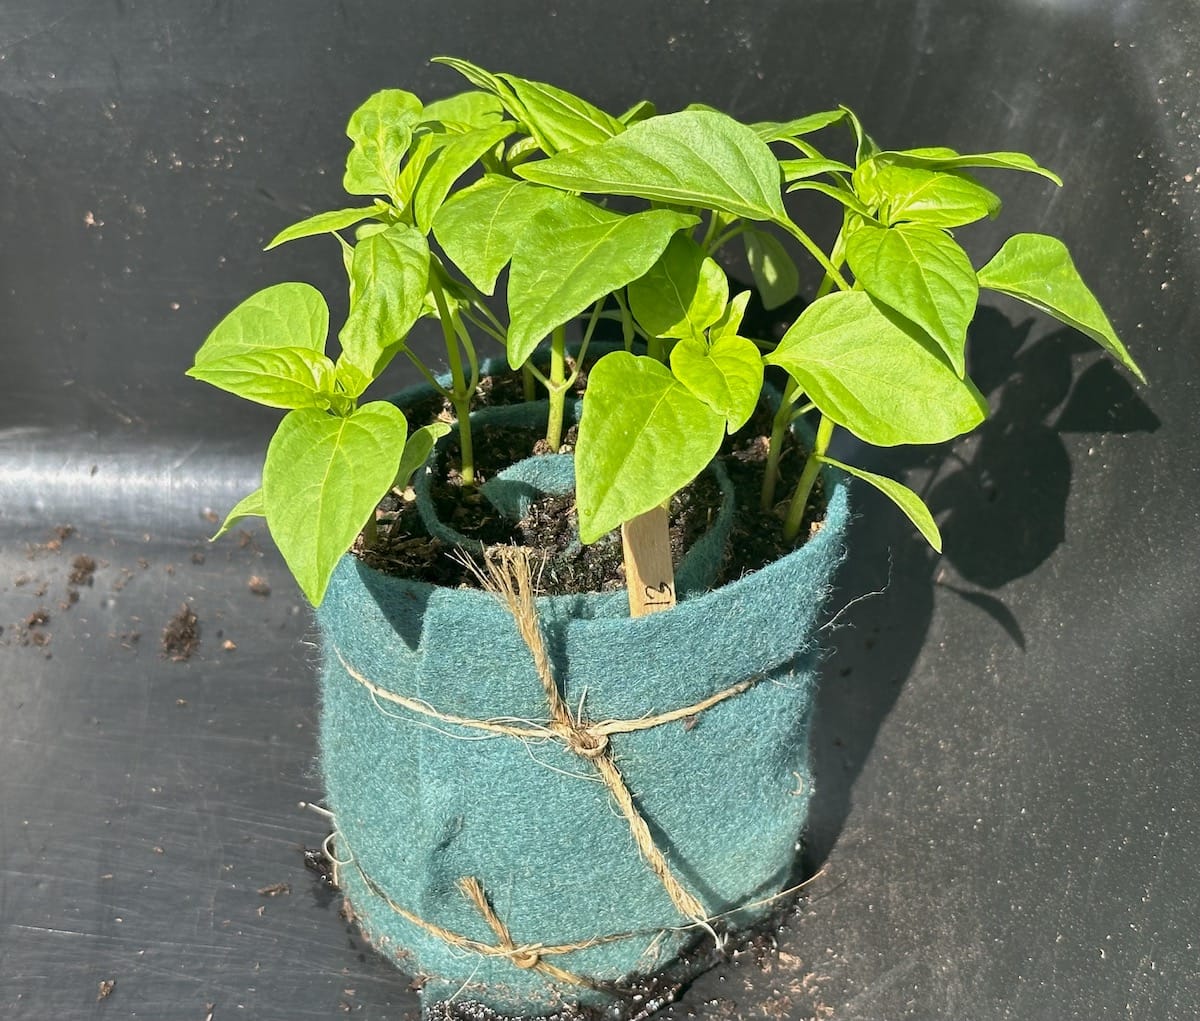
I really like the space-saving aspect of this method, as well as the ingenuity of it. A rolled strip of damp seed mix may not sound like much, but once it is standing there in its tray, dotted with its first green shoots, it begins to just make sense.
This was easy to make that I assembled twelve rolls on my first try and placed them all on a tray for easy watering. All but three sprouted well; the few that failed contained older seeds, so I am inclined to blame the seeds rather than the method. I grew peppers, cosmos, marigolds, coneflowers, Swiss chard, tomatoes, calendulas, and kale in snail rolls with no trouble at all. In addition to the artichokes, I planted scarlet salvia and cleome, but those did not sprout.
The snail roll will definitely become part of my regular seed-starting routine. It has just enough practicality and whimsy to make it memorable.

Member discussion